Do this before putting tools away
- Brush off soil and remove plant debris.
- Dry metal and inspect joints and handles.
- Use the recommended lubricant where appropriate.
- Store cutting edges protected, away from damp floors.
A small routine beats a large rescue job
Garden tools often deteriorate between jobs rather than during them. Damp soil holds moisture against metal, sap makes cutting surfaces drag, and an unnoticed loose fastener allows a joint to wear. A short end-of-session routine makes those problems easier to spot. It also gives you a realistic picture of what your equipment needs, instead of treating every awkward cut as a reason to buy something new.
Gather a stiff brush, a cloth and the maintenance instructions for the particular tool. Remove loose earth first. Use water when necessary, but avoid soaking wooden handles, bearings or powered components. Dry thoroughly. For sticky residues, choose a cleaner permitted by the manufacturer and observe its handling instructions. Keep cleaning products away from children, pets and growing areas, and do not assume that a household mixture is harmless because its ingredients are familiar.
Keep the original working edge
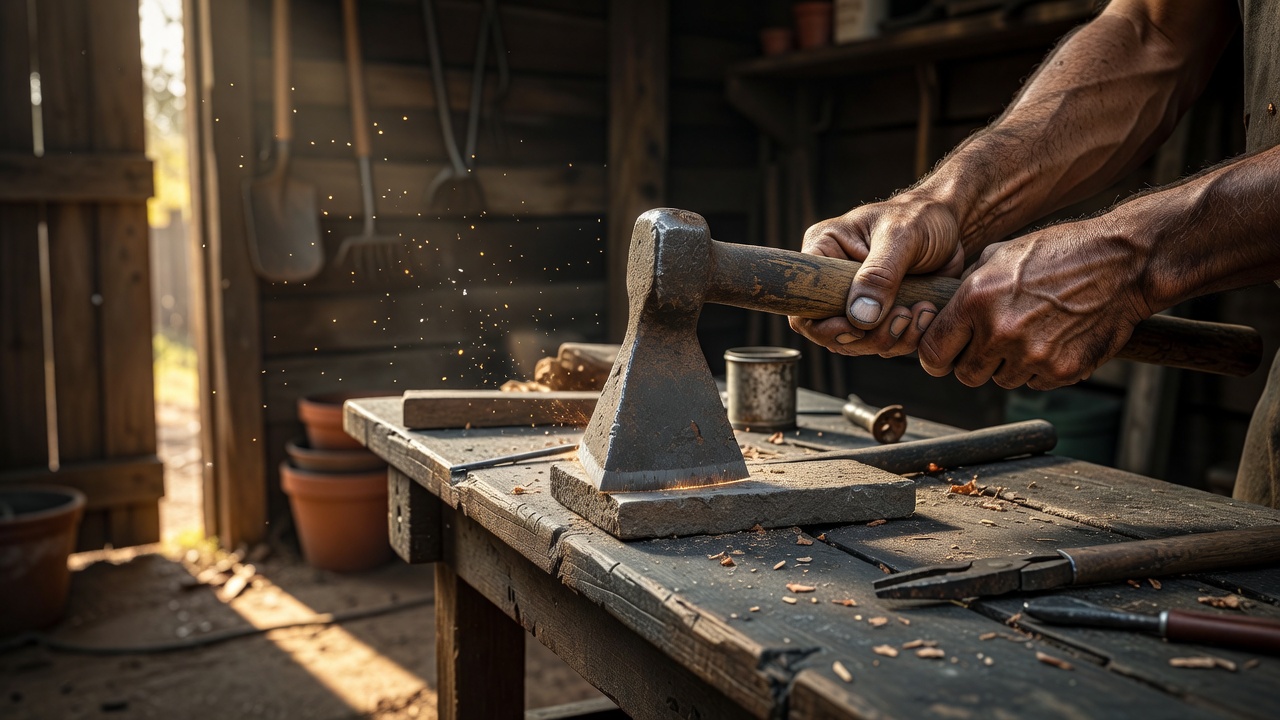
A sharp edge reduces the effort needed for a suitable job, but sharpening is not the same procedure for every tool. A spade, a bypass pruner and a pruning saw have different cutting geometries. Identify the tool and read its instructions before choosing a file or stone. Some coated or specially hardened blades are not intended for ordinary home sharpening. Saw teeth may require specialist attention or a replacement blade.
Secure the tool before working. Wear appropriate eye protection and follow the tool and sharpening equipment safety guidance. On a serviceable pruner blade, preserve the existing bevel rather than inventing a steeper angle. Remove only the metal needed to restore the edge. Filing both sides of a blade designed with a single bevel can spoil its cutting action. If the edge is chipped, bent or unfamiliar, ask a competent repairer rather than experimenting.
After sharpening, remove residue and check adjustment as directed by the maker. A pruner that crushes stems may have a loose pivot, damaged anvil or misaligned blade rather than simply being blunt. Test the action on an appropriate small piece of material, keeping fingers clear. Never use a larger branch as a stress test for a questionable repair.
Repair the part that has actually failed
Handles and fixings
Check for splitting, movement at the socket and protruding fasteners. A compatible replacement handle may restore a sound head, but a cracked head or badly damaged socket needs a different decision.
Springs, blades and pivots
Look up the exact model before ordering. Similar-looking parts can differ in fit, tension or safety features. Save the model number and parts diagram with your tool records.
Powered equipment
Disconnect the power source as instructed before maintenance. Do not bypass guards, interlocks or battery protection. Damaged cables, swollen batteries and uncertain electrical faults belong with qualified support.
Surface rust and structural damage are not the same thing. Light corrosion may be manageable using an appropriate method, while deep pitting at a stressed joint deserves caution. Do not hide a crack beneath paint or adhesive and call the result repaired. If a tool can fail suddenly under load, avoiding replacement is not the only consideration.
Make storage part of the repair
Give tools a dry, ventilated place where sharp edges cannot be grabbed accidentally. Keep them off a damp shed floor and protect finishes with a product suitable for their materials. Use oils sparingly, follow disposal guidance for oily cloths, and keep incompatible products away from food-growing surfaces. Inspect wooden handles for roughness and follow the finish manufacturer’s instructions rather than layering unknown coatings.
Borrowing a specialist tool can be a sensible alternative to owning one that sits unused. Check its condition before accepting it and agree who handles maintenance. If you visit a community repair event, such as a Repair Café, ask whether volunteers have the relevant experience; participation is not a guarantee that every tool can be repaired safely.
When replacement is genuinely necessary, compare spare-part availability, service information, grip comfort and suitability for your tasks. A heavy tool that lasts on paper but strains your wrist is not a durable choice for your garden. Keep a simple record of repairs and recurring faults. That record will tell you more about your next purchase than an unsupported “lifetime” claim.